A T5 cab can serve as a daily workspace, a weekend starting point or the front of a camper conversion. Changing its decorative finish does not have to mean replacing the dashboard. The VWTT-03-29 dashboard trim kit for Volkswagen Transporter T5 adds adhesive-backed decoration to selected existing surfaces. This guide explains how to check the layout, compare finishes and prepare for installation.
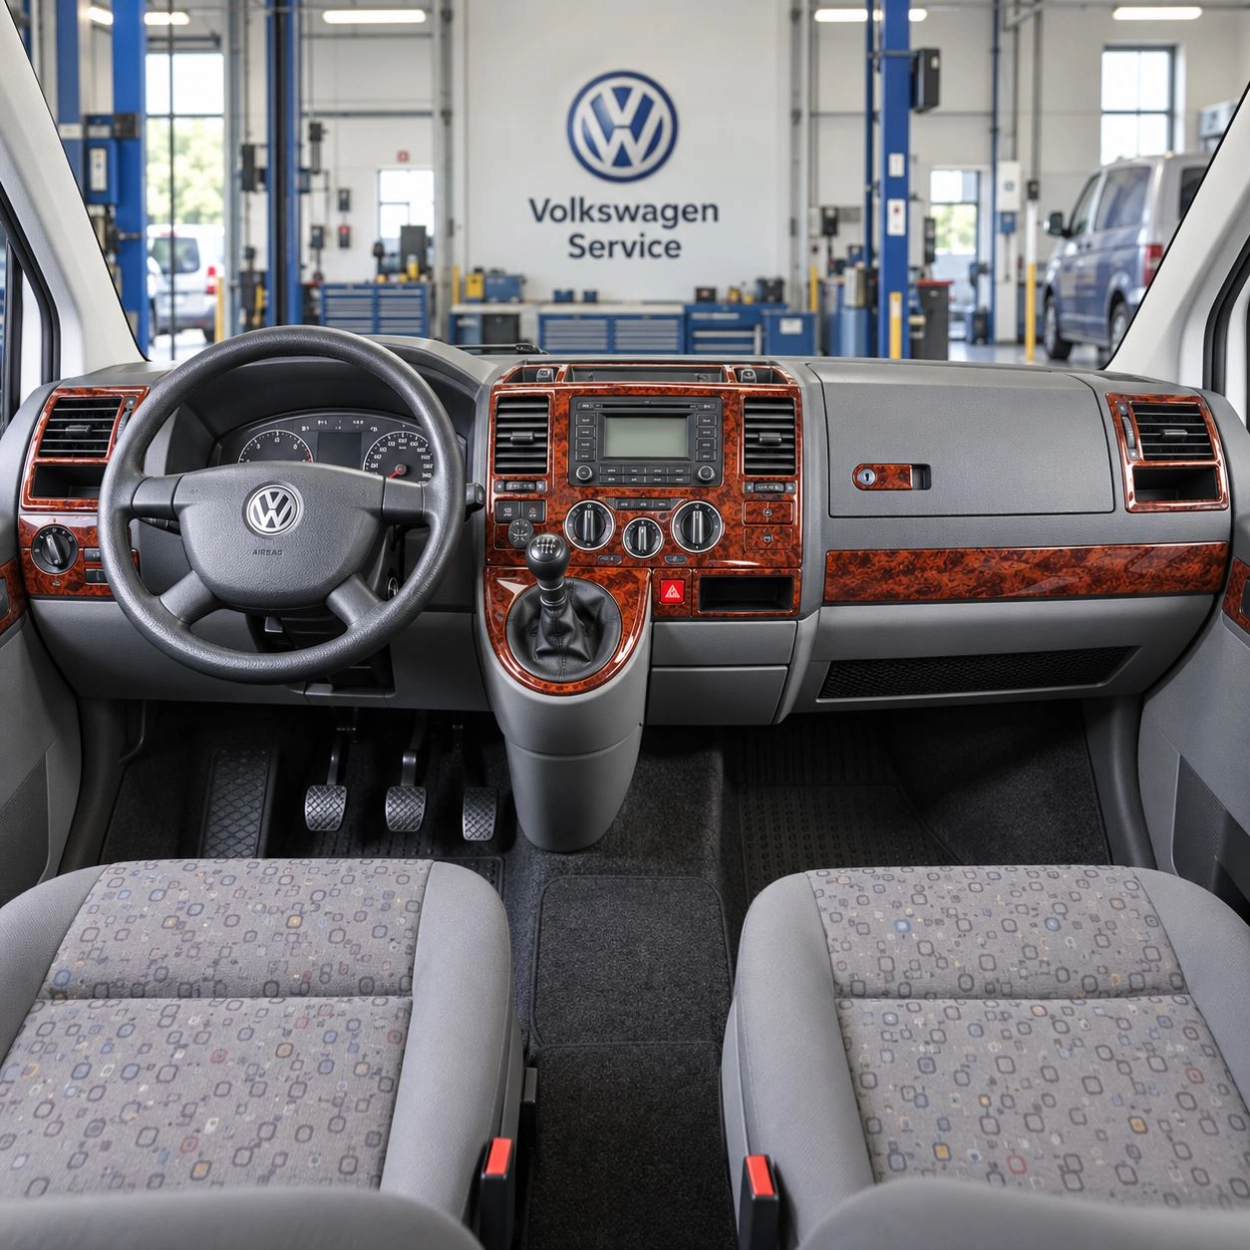
The kit at a glance
- Vehicle: Volkswagen Transporter T5.
- Listed years: 2003-2009.
- Product reference: VWTT-03-29; original reference 1819.
- Listed quantity: 29 decorative pieces.
- Application: adhesive-backed overlays on prepared original surfaces.
These are decorative additions, not replacement dashboard panels. Their purpose is to change the appearance of the areas covered by the selected set. Browse the VW California T4, T5 and T6 category to compare listings, but do not infer cross-generation compatibility from the category name. This particular product is listed for the T5, 2003-2009.
For another vehicle, start with the Volkswagen interior trim collection, the van dashboard trim range or the motorhome interior trim selection.
Compare the dashboard before choosing a finish
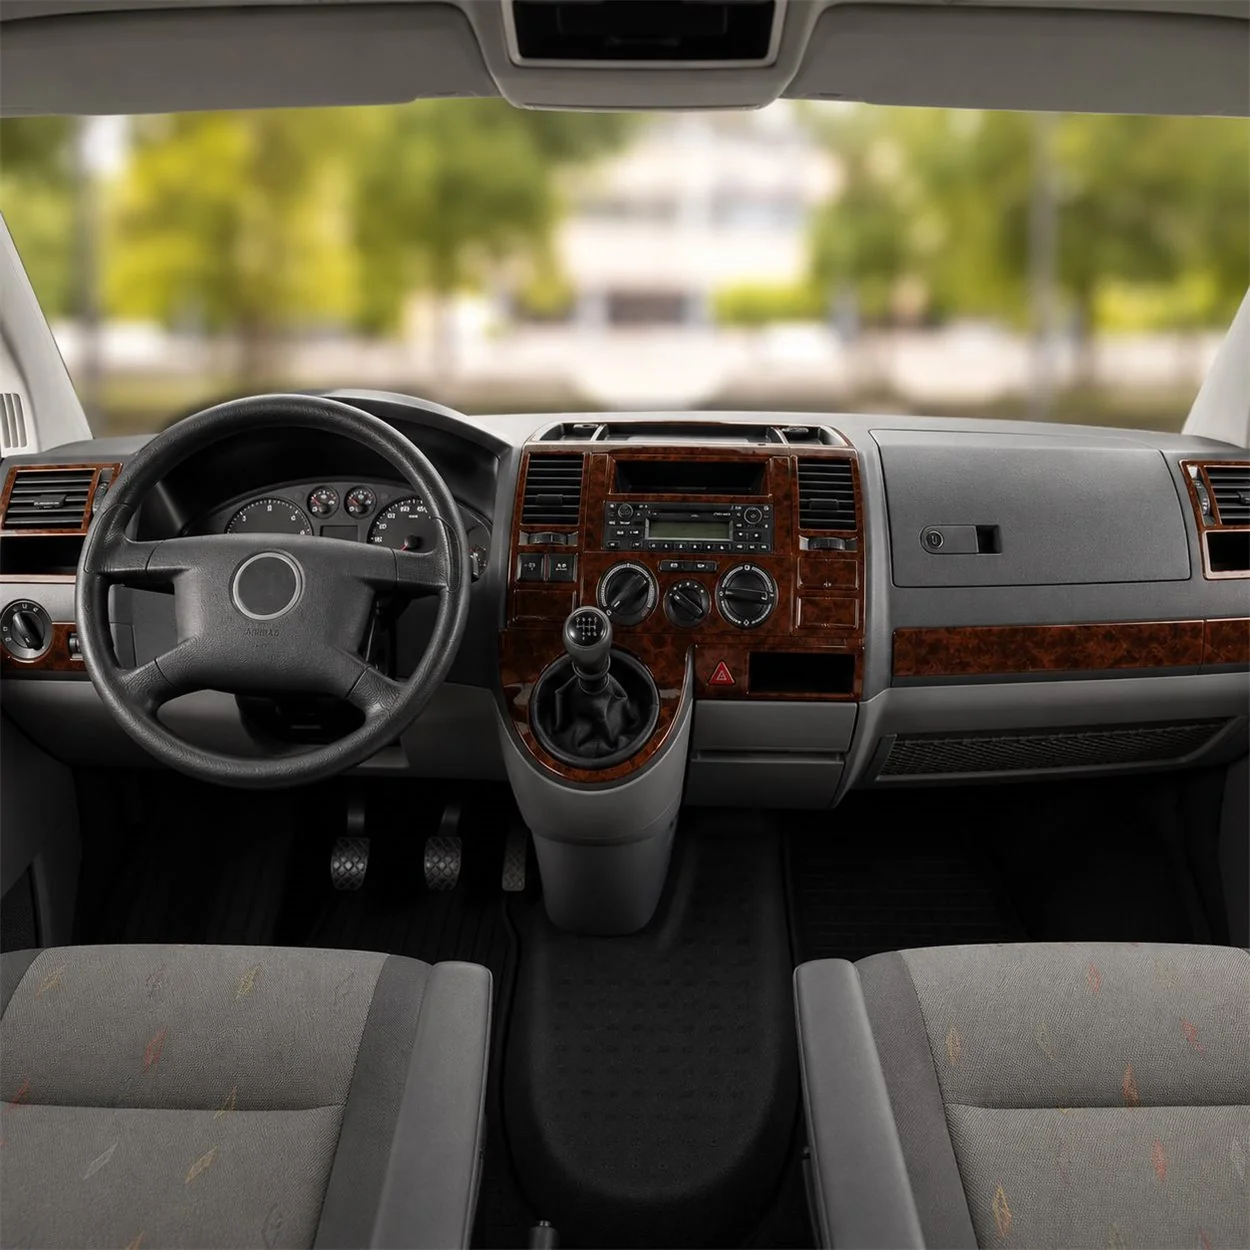
Check the radio opening, climate controls, switch positions, vents, glovebox areas and gear-selector surround against the diagram. The listing offers left-hand-drive and right-hand-drive selection. Choose the correct version and confirm any equipment differences before ordering. A camper conversion or California badge does not, on its own, establish a match.
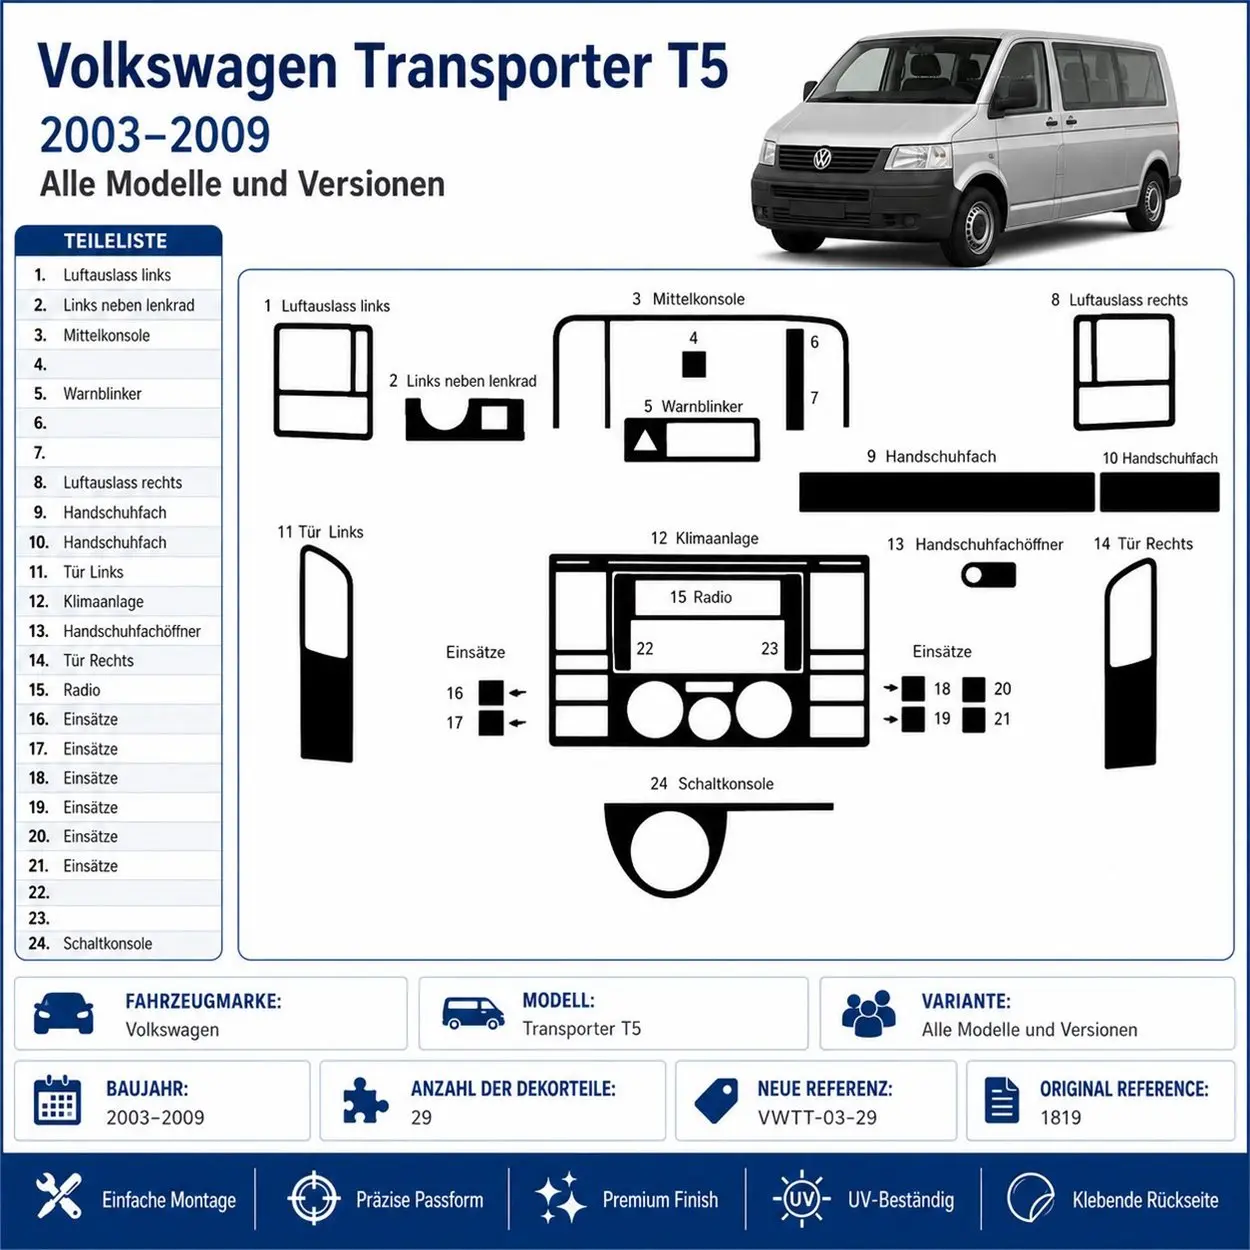
If the layout differs from your vehicle, ask CockpitDekor to check your T5 dashboard. Send a straight-on dashboard image plus close-ups of the centre console and controls. The dashboard trim buyer guide is a useful starting point for checking equipment and set coverage.
Choose a finish that works with the rest of the interior
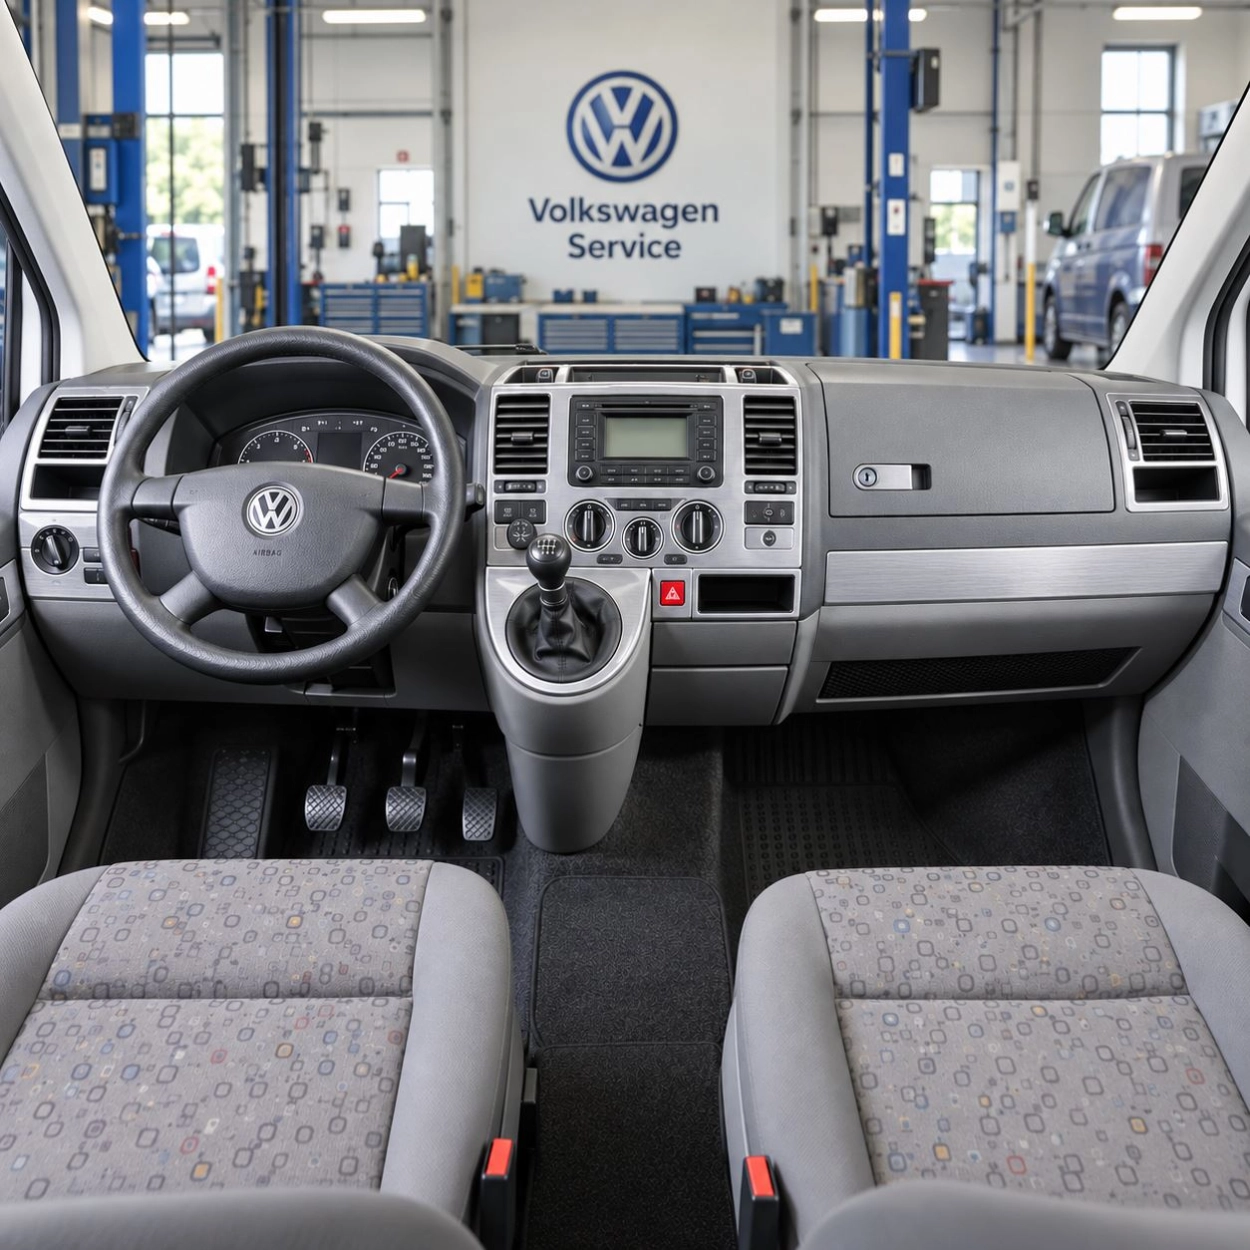
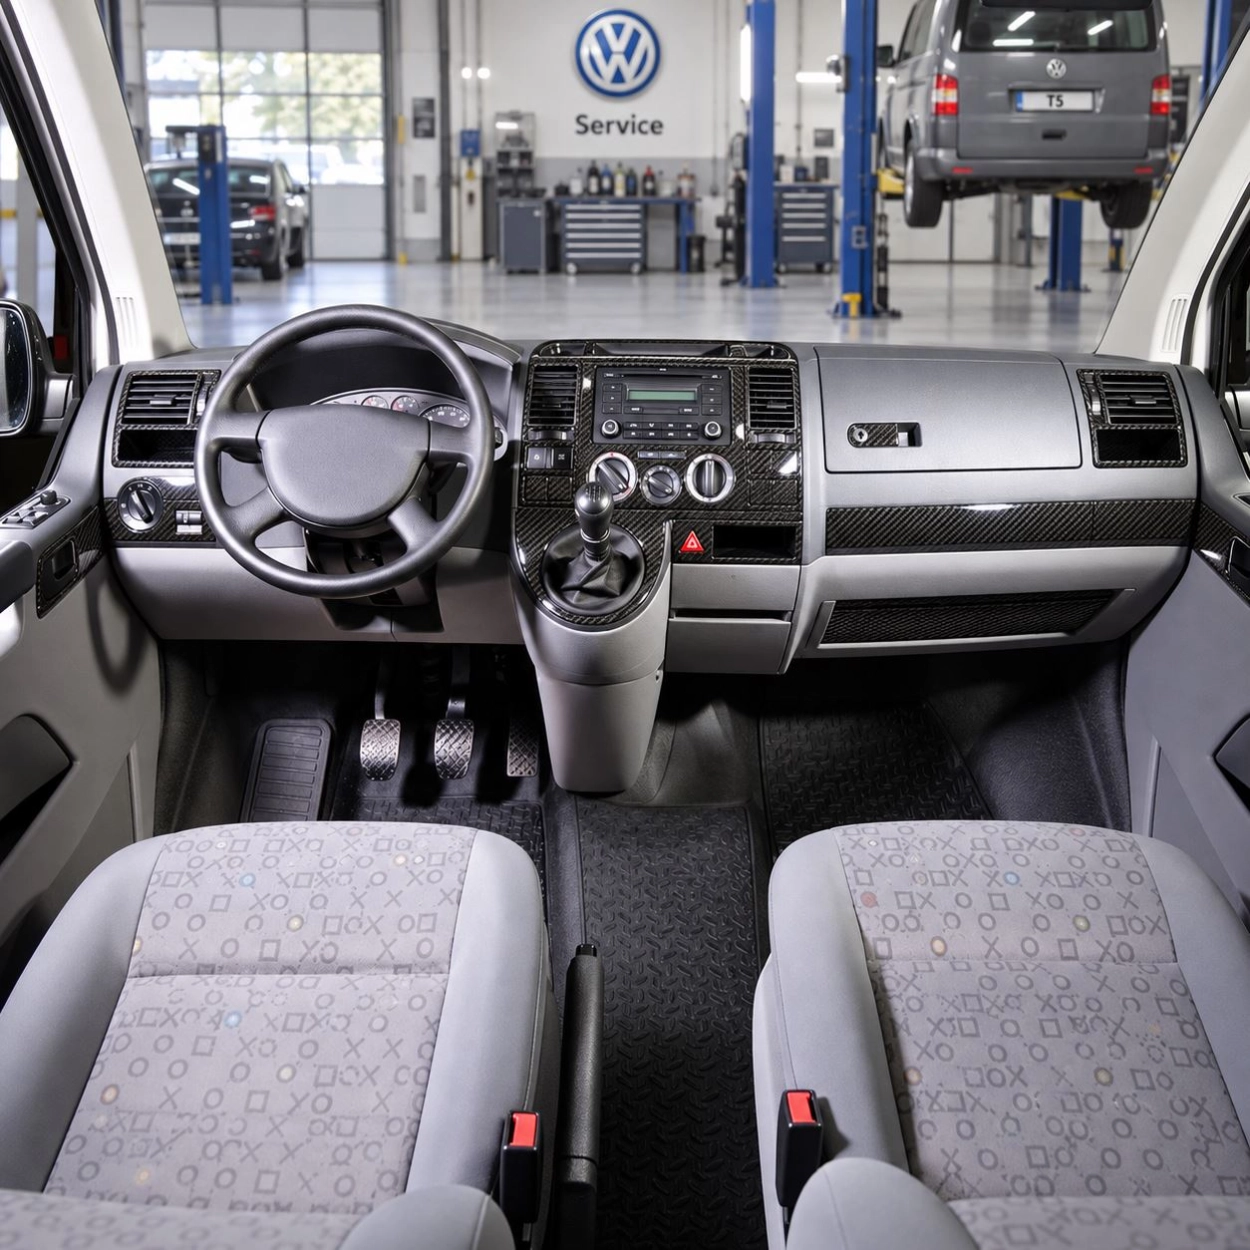
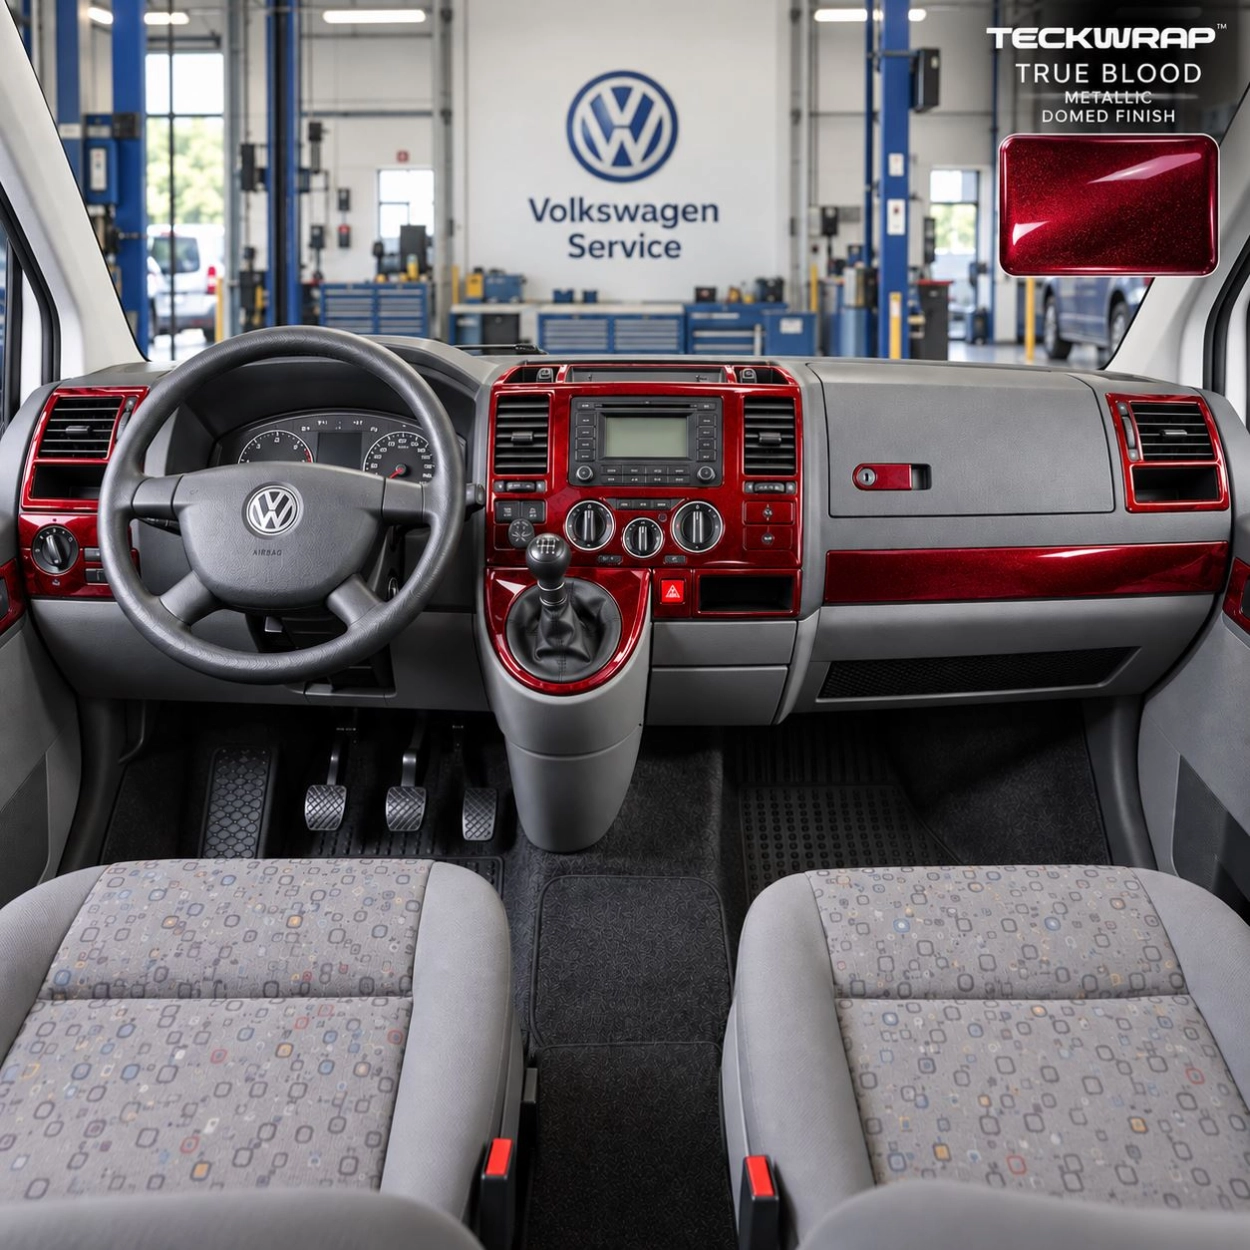
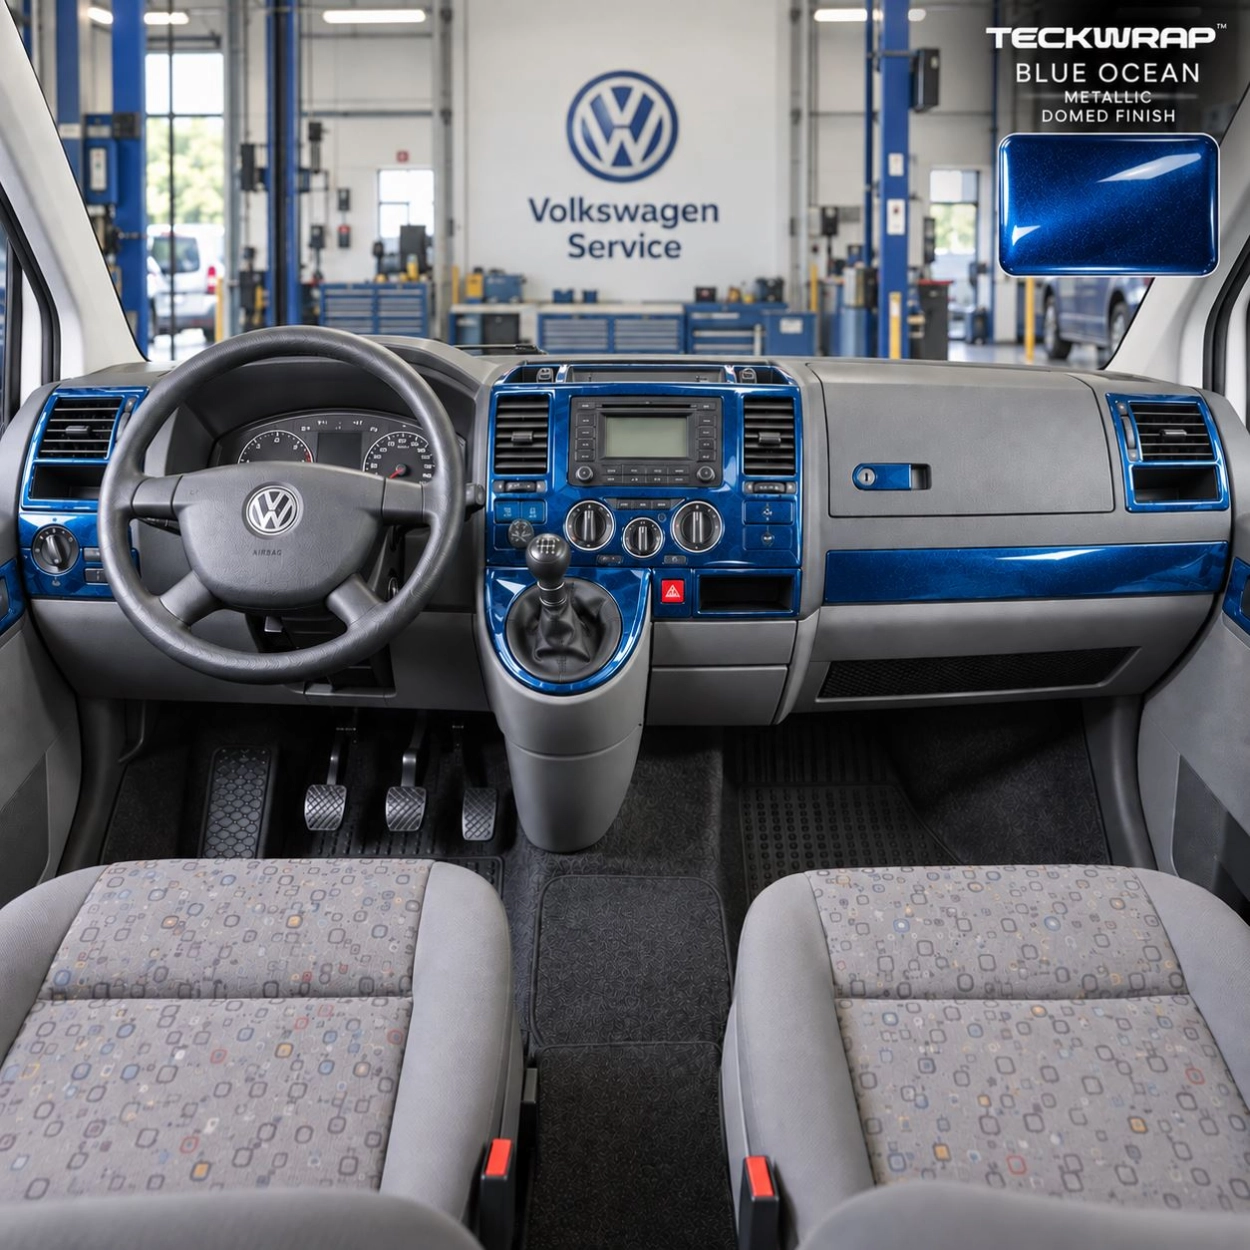
The product selector includes burl-wood and walnut-style appearances, carbon-look finishes and solid colours. Consider the seats, door panels and, in a camper conversion, the furniture visible from the cab. A finish should work with those existing colours rather than being judged only as an isolated swatch.
Finish names describe appearance; they do not automatically mean solid wood or structural carbon fibre. Check the selected material and construction in the dashboard trim material guide. Lighting and screen settings affect colour perception. The finish selected when ordering determines what you receive, not every finish shown in the gallery.
More images from the product gallery
The five additional images below complete the seven-image gallery from this product listing. Open an image for a larger view. Use them alongside the layout, not as evidence that the kit fits every T5 interior.
Prepare the surface and dry-fit first
- Lay out the pieces. Compare each shape with its intended position while the protective backing remains attached.
- Clean according to the instructions. Dust, grease and dashboard-polish residue can affect adhesion, even on a surface that looks clean.
- Align without forcing. Stop if an opening or edge does not match. Keep controls, vents and airbag deployment areas unobstructed.
- Follow the specified fitting conditions. Observe the instructions for temperature, pressure and waiting time before cleaning or stressing the edges.
Read the adhesive dashboard trim installation guide before removing any backing. Decoration is not a repair for a loose, broken or unsafe original panel.
Ready to select your T5 kit?
Confirm the dashboard layout, steering-wheel position and finish on the product page. The stated manufacturing time is 2-7 business days; this is not the total delivery time. Review the delivery information and check the current price at checkout.
Complete your order through the store checkout so the selected configuration stays with your order. See the secure payment information for payment guidance.